A new layer of paint can revitalise a room, giving it a renewed vibrancy. However, experienced painters will attest that the brilliance of the final product isn’t just about the hue or shade selected; it’s the detailed groundwork leading up to the painting that counts. In home makeovers, painting can be likened to the crescendo of a masterful symphony. Yet, even the most awe-inspiring crescendo can only satisfy with the right lead-up.
This manual will guide you through the fundamental stages and expert advice to guarantee your paint job boasts a professional touch and endures the passage of time. Whether you’re a dedicated DIY aficionado or a beginner keen on revamping your environment, let’s set out on this transformative adventure, ensuring every paint swipe is primed for perfection.

Choosing the Right Paint and Materials
The paint you choose can make or break your project. Understanding the nuances of different paint types ensures you get the desired outcome.
- Differences between oil-based and water-based paints:
Oil-based paints, known for their durability and smooth finish, are ideal for areas that require frequent cleaning, like kitchens or bathrooms. They take longer to dry but last longer. On the other hand, water-based or latex paints dry faster and have a lower VOC content, making them environmentally friendlier and easier to clean up. - Importance of paint sheen:
The sheen of the paint affects both the appearance and usability of walls. Matte offers a non-reflective finish, ideal for hiding imperfections but can be less washable. Eggshell and satin provide a slight shine, making them more washable and suitable for living areas. Semi-gloss and gloss sheens are shiny, durable, often reserved for trims, doors, or wet areas. - Environmentally friendly options:
With growing environmental concerns, many brands offer eco friendly paint with reduced or zero VOCs (volatile organic compounds), which are better for your health and the planet.
Picking the right tools:
Using the proper tools ensures efficiency and a professional-looking outcome.
- Brushes:
The type and size of brush you pick can drastically affect your painting outcome. For detailed work or cutting in, choose a smaller, angled brush. For larger surfaces, a wider brush is more apt. Synthetic brushes work best with water-based paints, while natural bristle brushes are ideal for oil-based paints. - Rollers:
For painting large areas, rollers are a lifesaver. The nap, or thickness of the roller, should vary depending on the surface roughness; smoother surfaces need a thinner nap, while textured walls or ceilings benefit from a thicker one. - Paint trays, painter’s tape, and drop cloths:
Paint trays help in even paint distribution on rollers. Painter’s tape ensures sharp and clean lines, while drop cloths protect your floors and furniture from paint spills.
Prepping the Painting Surface
Every good painting job begins with a clean canvas.
- Importance of starting with a clean surface:
Dirt, grease, or dust can prevent paint from adhering properly. Cleaning ensures a smooth application and prolonged paint life. - Recommendations for cleaning solutions:
For most walls, a simple mix of soap and water will suffice. Consider a diluted solution of trisodium phosphate (TSP) for greasier areas like kitchens.
Sanding creates a smooth base and promotes paint adherence.
- When and why to sand:
Sanding is crucial if walls are previously painted and glossy or imperfect. It ensures the new paint adheres well and results in a flawless finish. - Techniques and sandpaper grit selection:
For walls, a fine-grit sandpaper (120-150) usually suffices. Ensure even pressure to avoid creating grooves or divots.
A little prep work goes a long way in achieving a polished look.
- Filling holes, cracks, and gaps:
Using a putty knife, apply spackle or filler to imperfections. Once dry, sand it down to level with the wall. - Ensuring a smooth finish:
After sanding, wipe down the wall with a damp cloth to remove residue, ensuring a clean base for painting.
Primer creates a consistent base, enhancing the paint’s vibrancy and longevity.
- Benefits of using a primer:
A primer ensures even paint absorption, covers old paint, and reduces the number of paint coats needed. - Selection and specialized primers:
Oil-based primers are versatile, while water-based primers are easier to clean up. There are also stain-blocking primers for covering discolourations and mould-resistant ones for damp areas.
Masking and Protecting Surroundings
For crisp lines and a professional finish, taping is essential.
- Proper techniques:
Press the tape down firmly along baseboards, windows, or trim. Ensure no bubbles or gaps where paint can seep through. - Ensuring clean paint lines:
Remove the tape when the paint is still slightly tacky to prevent peeling.
Protecting your space saves time and hassle during cleanup.
- Protecting floors, furniture, and fixtures:
Lay down drop cloths or plastic sheets, ensuring they cover all areas at risk of spills or drips. - Importance of securing cloths:
To avoid trips or slips, tape down or weigh the edges of your clothes, especially in high-traffic areas.
Painting Techniques
Starting with edges:
- “Cutting in” technique: Before rolling the large expanses of a wall, it’s crucial to paint the edges or “cut in.” Using an angled brush, paint around the trim, corners, and ceiling, providing a boundary for using the roller. This technique ensures neat, crisp edges without spillovers.
Using rollers:
- Ensuring even paint distribution: Dip the roller into the paint tray, then roll it back and forth to ensure even coverage. This helps in avoiding globs or overly thick layers of paint on walls.
- Techniques to avoid streaks and roller marks: Roll in a ‘W’ or ‘M’ pattern, gradually filling in the gaps without lifting the roller. This technique ensures an even coat without visible lines.
Brushwork:
- Proper brush strokes: Always paint in the direction of the grain or weave of the surface. Long, smooth strokes give a more consistent finish than short, choppy ones.
- Cleaning and maintaining brushes: Clean brushes promptly after use. Warm soapy water suffices for water-based paints, while oil-based paints require mineral spirits. After cleaning, reshape the brush and hang it to dry.
Safety Precautions
Ventilation:
- Importance of good airflow: Always ensure the room is well-ventilated when painting. Open windows, use fans or keep doors ajar to circulate fresh air.
- Risks associated with paint fumes: Prolonged inhalation can lead to headaches, dizziness, or more severe health issues. Always be cautious and take breaks if the fumes become too overwhelming.
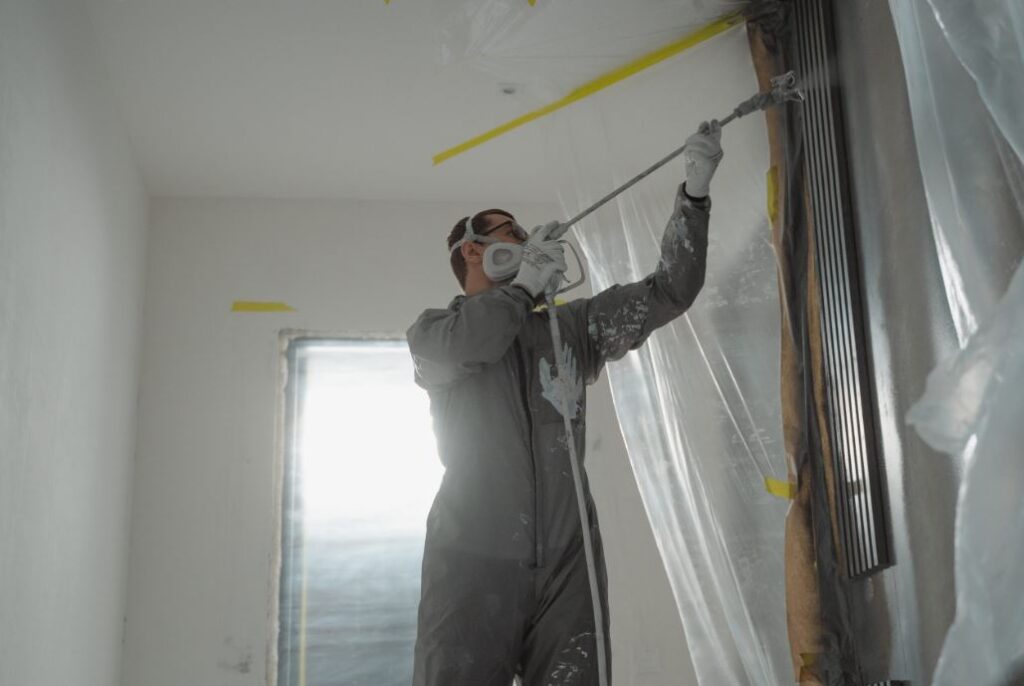
Personal protective equipment (PPE):
- Gloves, masks, and goggles: Wear gloves to avoid skin contact, especially with oil-based paints. Masks protect against inhalation of fumes, while goggles shield the eyes from splashes.
- Safe storage and disposal: Store paint in a cool, dry place, away from children and pets. Dispose of leftover paint responsibly, adhering to local environmental guidelines.
Finishing Touches and Cleanup
Checking your work:
- Inspecting for missed spots or drips: Inspect the walls under different light conditions once the paint is dry. Look for inconsistencies, missed spots, or drips.
- Touch-ups and corrections: Use a small brush to correct any imperfections. Ensure the touch-ups blend seamlessly with the surrounding areas.
Cleaning tools and disposing of paint:
- Proper cleaning techniques: Clean tools immediately after use. Rollers can be removed and washed with appropriate solutions, while brushes need thorough cleaning to ensure longevity.
- Disposing of materials: Empty paint cans can be recycled, but if there’s leftover paint, consider donating it or disposing of it as per local regulations.
A perfect painting job is the culmination of careful planning and meticulous execution. From the initial selection of materials to the final inspection, each step contributes to the project’s overall success. A fresh coat of paint’s transformation is unparalleled, but its true beauty lies in the preparation and care that precedes it. As you embark on your painting ventures, let the knowledge of these intricacies guide you, ensuring that every stroke is not just a splash of colour but a mark of dedication and passion. Approach your painting projects confidently, knowing that you’re already halfway to perfection with the right prep.